
Photographing your art
I set out to learn about photographing my art for two reasons:
- to get better photos for submission to shows
- to have good enough digital images that can be reproduced as prints
The kind of art work I am photographing is 2 dimensional most of the time, with some 3d.
Up till now I have used my phone, my tablet, and another digital camera with a wide angle lens to take photos of my work. BUT the photos came out with a gold cast from incandescent lights, and I could never get them quite straight, or with high enough resolution to make prints I could sell. So the equipment I had didn’t really allow me to do what I wanted.
I am part of the way along in understanding how to do this for myself.
Here’s what I have set up for photographing so far:
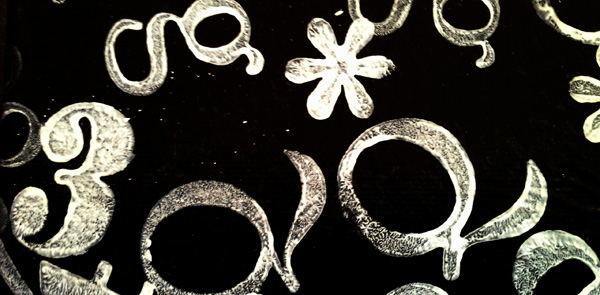
- A backdrop of very dark blue velvet (I had this on hand — I would prefer black) The velvet absorbs most of the light, and it doesn’t seem to affect the color appreciably.
- A vertical easel. I once used some hanging grids that an artist friend had loaned me for another purpose. The grids actually worked better for me, but I own the easel.
- A Nikon D5200 camera purchased at Sam’s club on sale. I recently got this very nice camera — this was the commitment moment for me. I decided to take this project on and learn how to photograph my own art.
- The Camera came with two lenses. I use the Nikkor 55-200mm telephoto, and avoid all wide angle lenses for this purpose.
- A tripod. I read reviews, and picked a Bower telescoping model that seemed substantial enough and would go high enough to photograph larger works.
- Lighting. Two light stands with reflectors and white umbrellas. There was conflicting info about the need or usefulness of these lights — it’s just the way I chose to go for now.
- (Something like this: http://www.amazon.com/LimoStudio-Photography-Portrait-Continuous-Umbrella/dp/B00FFJ3QNO/ref=sr_1_14?ie=UTF8&qid=1393116639&sr=8-14&keywords=photo+lights)
- The camera came with a bluetooth connection that connects to my phone or tablet so that I could take a photo without touching the camera. This has proven to be VERY helpful. I can preview the image on the tablet, which is MUCH bigger than the viewfinder.
- A polarizing filter – This is to reduce or eliminate specular highlights, those annoying reflections off the highpoints of your painting. I have not figured out how to work this yet.
Several concepts I found helpful:
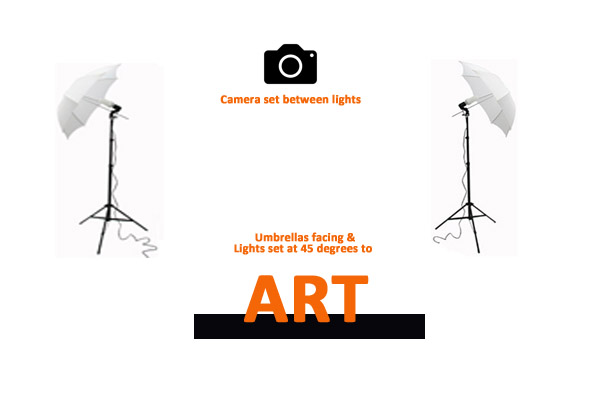
Lighting
- You are not trying to focus the light, but get a diffused, evenly lit appearance.
- Do not point the lights directly at the flat surface, but using two lights, set them at angles (I use 45 degrees to the right and left, at the same height as the surface you are photographing.
- The camera goes between the lights.
Camera set up
- Camera and image must be level for best results.
- Fill the camera view finder with the image, leaving a small border for cropping later.
- Watch for distortions — make the image square in the viewfinder for best results. This can be very challenging.
- I place a white card in the photo off to the side to give me something to compare for white balance.
- I set the camera to take a jpg and a raw image for each shot.
- ISO 100 to 200
- Aperture 5-6 is the recommended.
Varnishing the painting
- I varnish my paintings to finish and protect them. I used to use gloss, but have changed to eggshell which seems to help prevent specular highlights, and I like the change.
Challenges
- I have to read the manual each time I do this, so you can see I’m in the learning stages.
- I have not figured out how to set the white balance in the camera yet.
I am a fairly experienced Photoshop user, at least for the way I use it.
I know how to balance the colors, fix shapes and minor edits of reflections.
One thing I haven’t learned yet is how to use the white card I’ve placed in a photo to correct color in either the camera or Photoshop.
If you have info that could fill in the blanks, please share. It would be most appreciated.
Here’s the article that got me started.
http://dallasartsrevue.com//resources/How-to-Photo-Art.shtml
Lynette
Leave a Reply